Overview of the Project Navigator in Xcode
You have to work within the context of an Xcode project to develop an iOS app. After you have created your project in Xcode, the Xcode workspace displays the Project navigator.

The Navigator area is an optional area on the left side of the Workspace window where you can load different navigators — including the Project navigator — with the help of the Navigator selector. To hide or show the Navigator area, click the left View selector button in the workspace toolbar
The Navigator area includes the Navigator selector bar, the Content area, and the Filter bar. It can also include other features specific to the selected navigator.
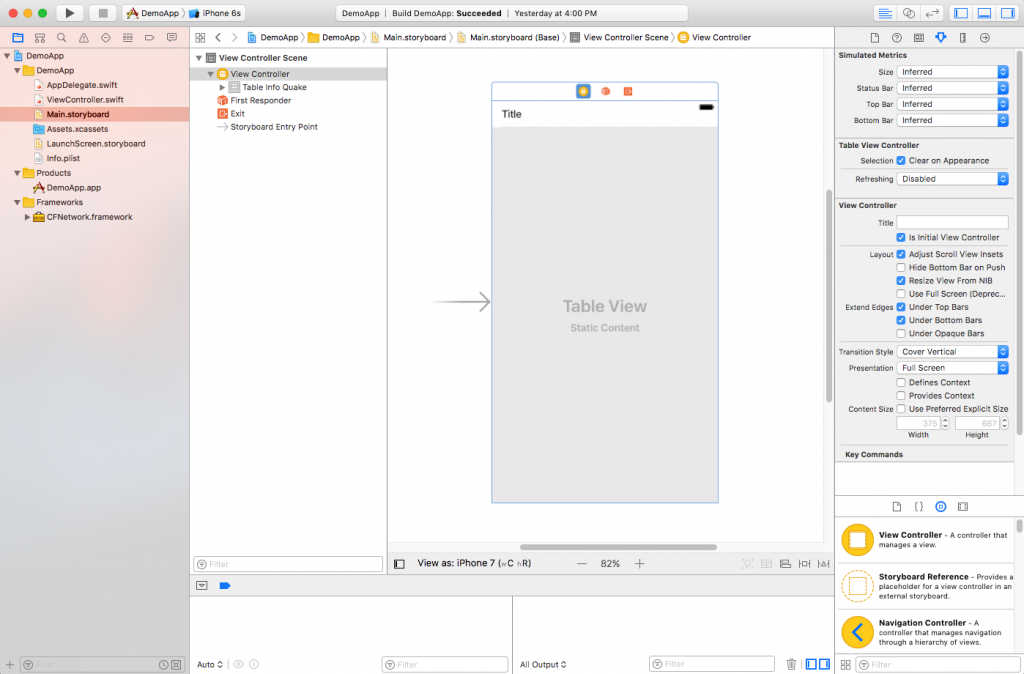
The Project navigator enables you to do things like add, delete, group, and otherwise manage files in your project or choose a file to view or edit in the Editor area. (Depending on which file you choose, you’ll see the appropriate editor.)
In this figure, for example, all the disclosure triangles are open so that the Project navigator displays all the files in the project.
The Filter bar lets you restrict the content that’s displayed — such as recently edited files, unsaved files, or filenames.

Making your way down the folder structure shown in the Project navigator (refer to the figure), the first folder listed is labeled RoadTrip (which is the name of this sample project). This folder contains all the source elements for the project, including source code, resource files, graphics, and a number of other pieces.
Although each template organizes these source elements in different ways, the Master-Detail Application template organizes the interface header and implementation code files (along with the Storyboard file(s) and a Supporting Files folder) inside the RoadTrip folder. (For good measure, the RoadTrip folder also includes a Frameworks folder and a Products folder.)
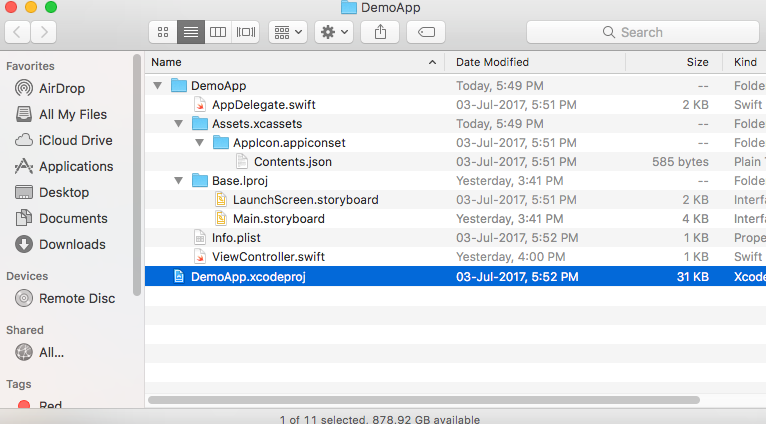
Here’s the kind of stuff that gets tossed into folders for projects like the Demoapp project:
AppDelegate files: The AppDelegate.swift files contain the code for app-specific behavior that customizes the behavior of a framework object (so that you don’t have to subclass it).
A behavior-rich framework object (used as is) delegates the task of implementing one of its responsibilities to an application delegate for a very specific behavior.
Storyboard: The storyboard files live in your project as the Main.storyboard file
With a storyboard, you can create and implement an overall view of the flow of your application and the user interface elements.
View controllers: The ViewController.swift files contain the code to control the initial view of the DemoApp (based on the Master-Detail Application template).
Supporting Files: In this folder, you typically find the precompiled headers (header files that are compiled to reduce your application compilation time) of the frameworks you’ll be using — such as (Info.plist) and main.m, your application’s main function. You may even find images and other media files, and some data files.
The InfoPlist.strings file is used for localization (translating the text in your app to the user’s language preference).
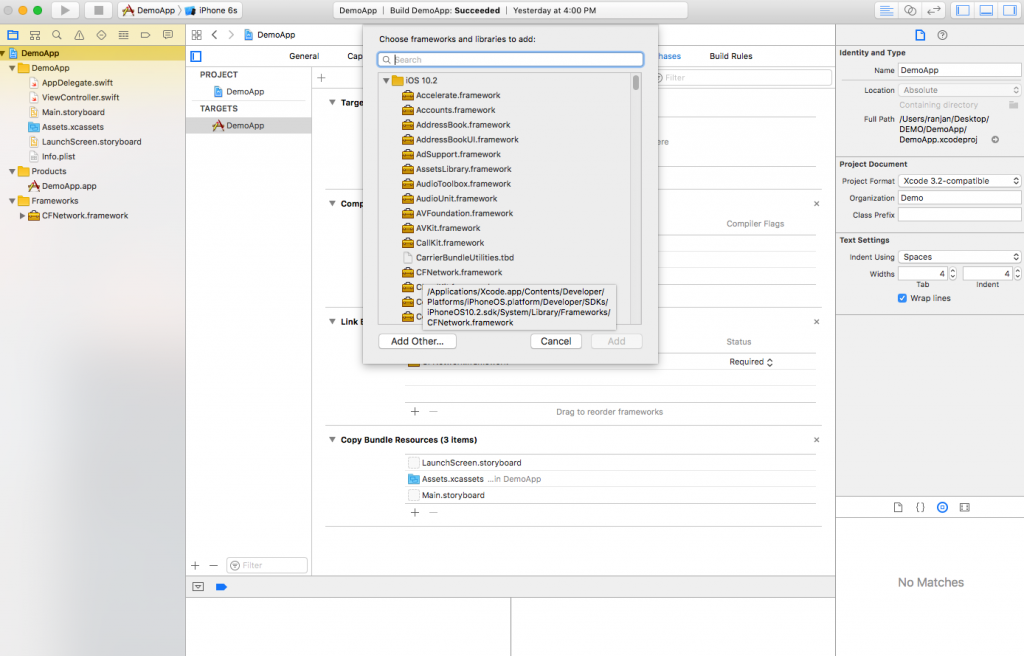
Frameworks: This folder holds the code libraries that act a lot like prefab building blocks for your app. By choosing the Master-Detail Application template, you let Xcode know that it should add the UIKit, Foundation, and CoreGraphics frameworks to your project, because it expects that you’ll need them in this kind of application.
Products: The Products folder is a bit different from the others. In it, you’ll find the final DemoApp.app file — not the source code of the app, but rather the built version of the app, which means that it has been translated from the source code into the object code for the iPad’s processor to execute.
